Airstream Restoration
-
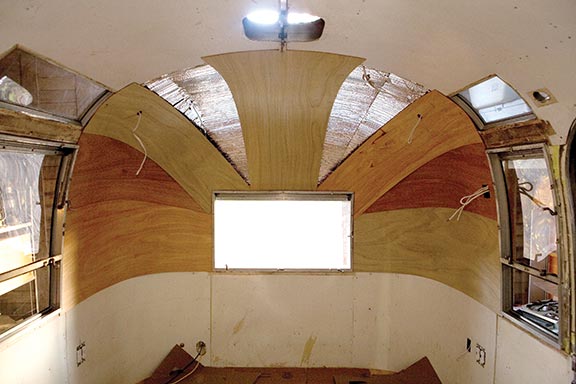 Now, the ends. This was tricky. Reasonably priced ⅛ inch mahogany, birch, or maple panels sold as replacement “skins” for hollow doors that were free of knots and flexible worked very well.
-
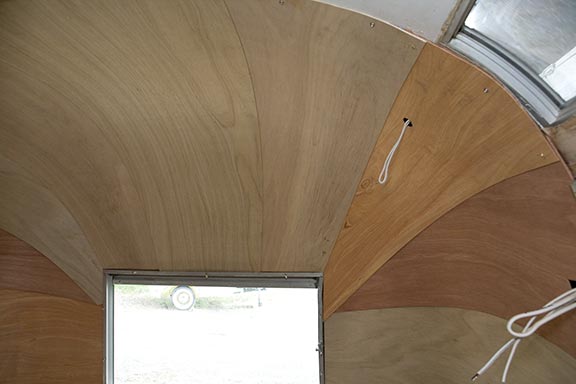 Voila!
-
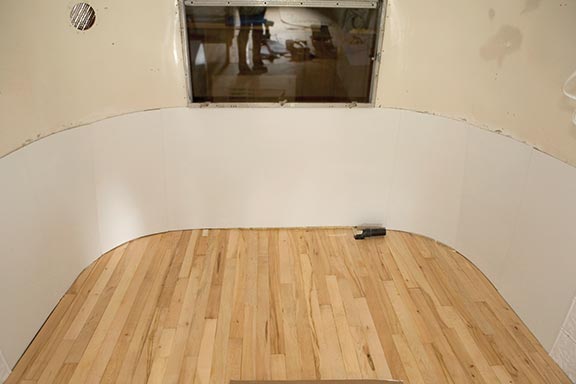 For the storage area under where my bed will go, I didn’t need to use the decorative paneling, so this was a good place for more of the door skins, painted white to match the walls.
-
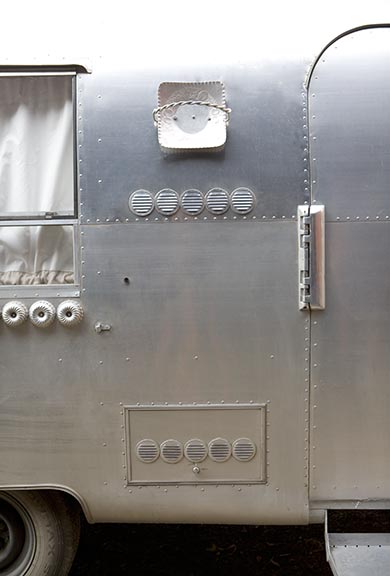
 The existing wheel-well covers were painted.
-
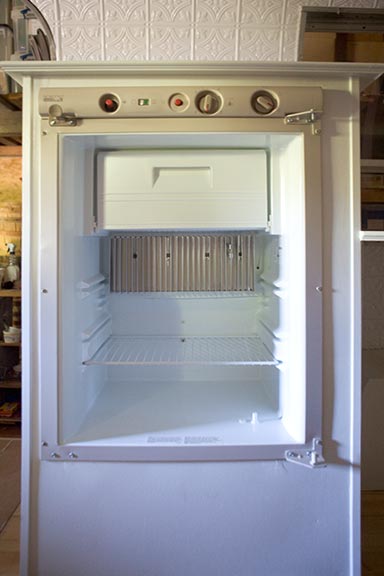
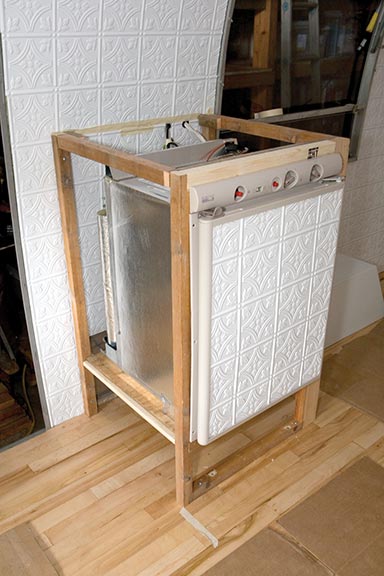
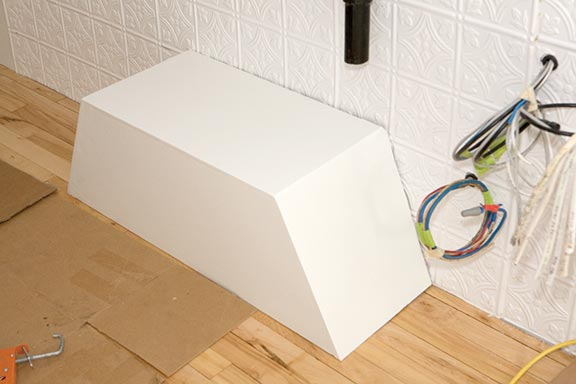
 I bought a Norcold N300 2.7-cubic-foot refrigerator for $800 from www.vintagetrailersupply.com (I also ordered a travel lock pin to keep the fridge door closed en route). This propane-powered appliance came with very specific instructions about the size of the enclosure in which it’s installed. A frame was built to those specifications, and because a propane refrigerator generates heat, it needed to be vented to the outside. It also comes with a door that you can customize, so I used a piece of the thermoplastic panels from the walls to spruce it up.
-
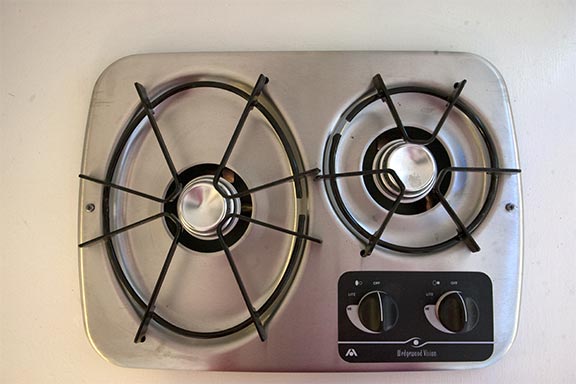
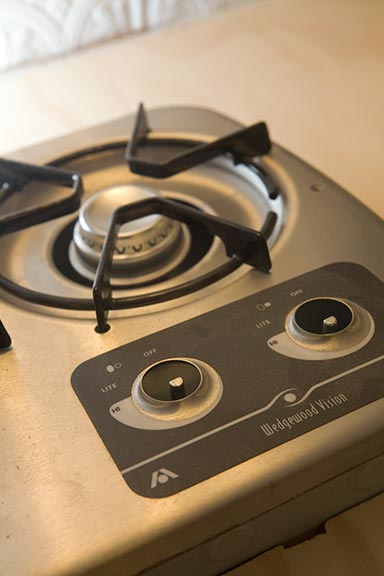 I also opted for a cook top instead of a full oven since I wanted the extra space for a cupboard. I ordered a stainless 2-burner cook top from Vintage Trailer Supply for $130.
-
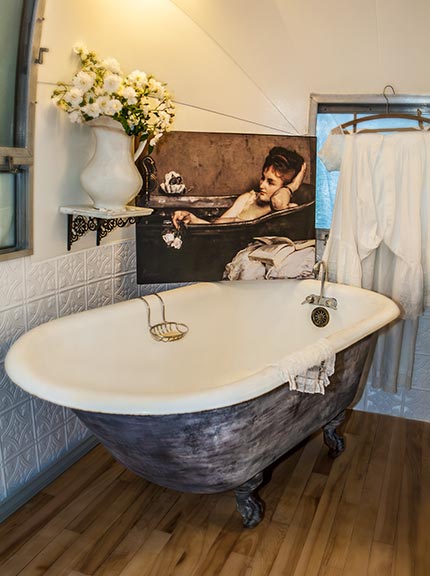
 I found a rare 4½’ clawfoot tub at my local building recyclers for $250.
-
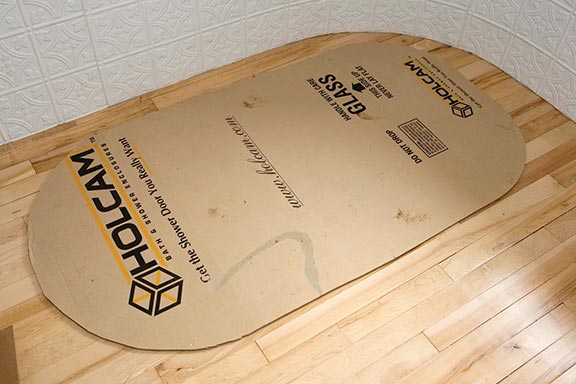 I made a cardboard template for where the tub was going to go (make sure it lines up with the plumbing).
-
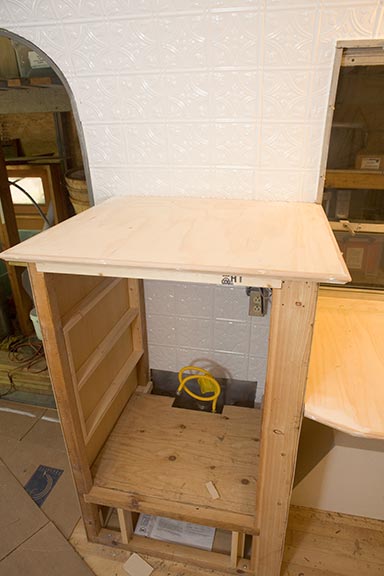
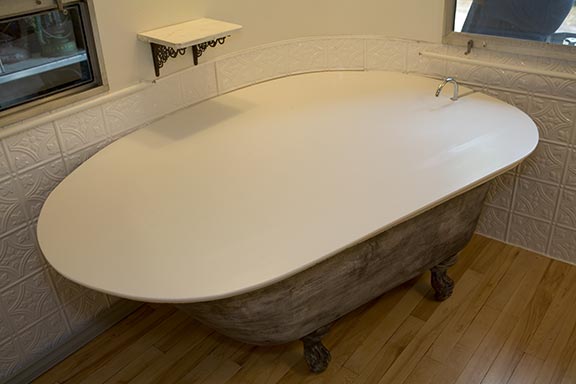 So that the tub could serve as a work surface when it wasn’t in use, it begged for a “lid” made from ¾″ plywood. Strips of thin pine were used to make a decorative edging on the plywood, and blocks of wood were positioned on the underside to fit against the edges of the tub so the top wouldn’t slide around when on the road. In transit, it doubles as a handy storage space.
-
 Ahhhh.