Airstream Restoration
-
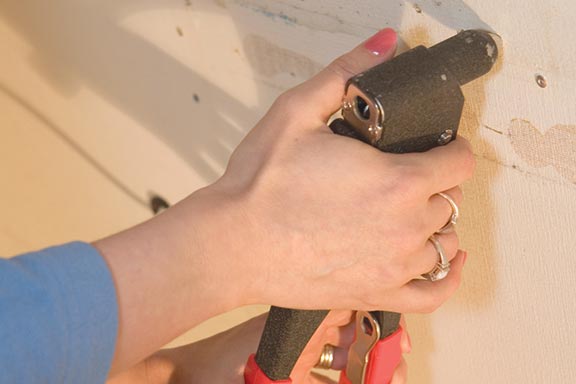
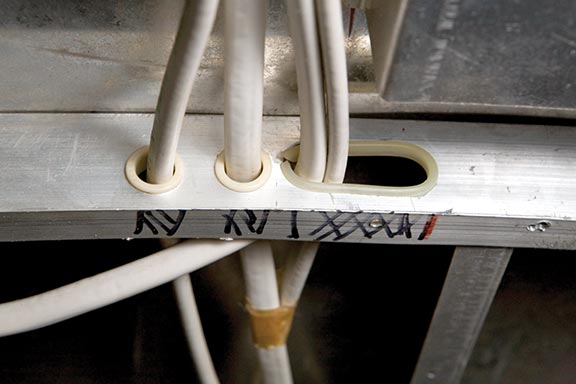 Make sure that when your wiring is going through the “studs” or frame of your trailer, they route through plastic ports. It’s absolutely necessary to keep all electrical chases through metal protected from chafe, strain, and abrasion. There’s a whole lotta chafing goin’ on when you’re out there on the road.
-
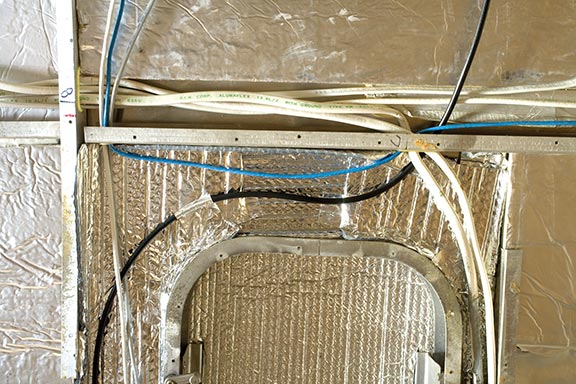 The lifeblood (veins) of your girl.
-
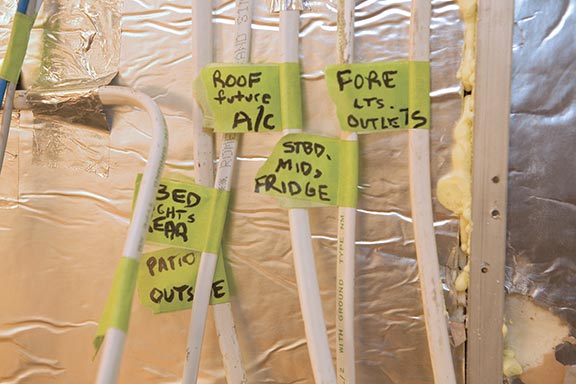 Label, label, label.
-
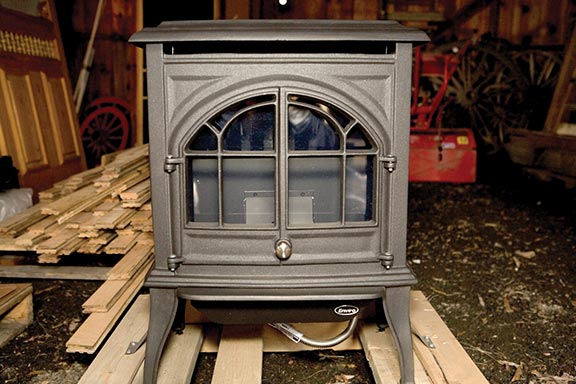 I picked out an Enviro Ascot freestanding propane cast-iron fireplace (www.enviro.com, $1243) at my local building supply store, but had them order a can of high heat off-white paint so I could change its color. Remember to bolt your fireplace securely to the wall and/or floor, and be sure that the venting and gas plumbing is done to meet all installation standards.
-
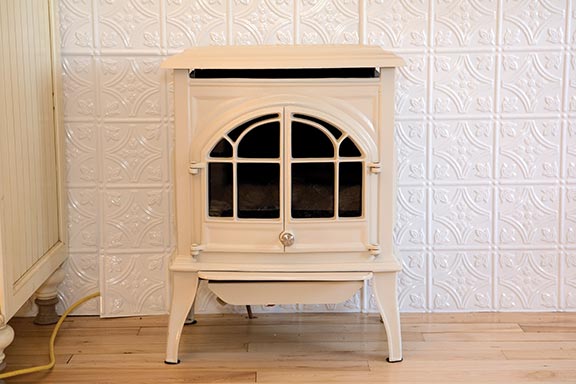
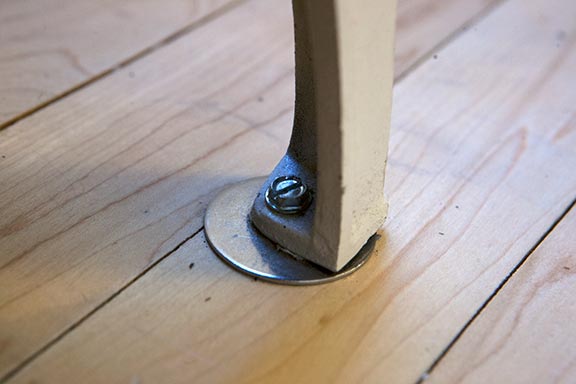 Ta-da! The stove was bolted to the floor with a washer in between. When my trailer is in motion on the road, the fake ceramic logs and the cast-iron top need to be removed and stowed.
-
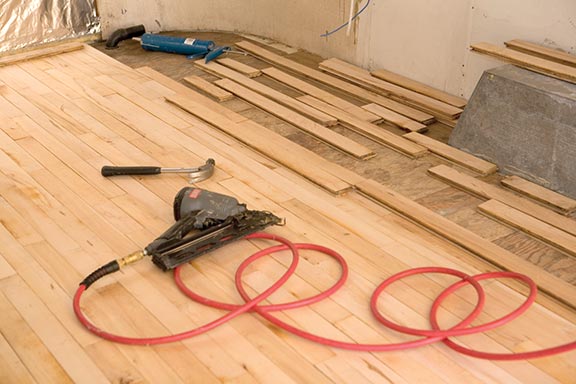 Now, the floor. There are a million floor options, but I was feeling so guilty about all the mouse goo and poo I took to the landfill that I went to our local building recyclers, www.wasankariconstruction.net and brought home enough maple planks from a former basketball court to cover the entire floor of the trailer for $525.
-
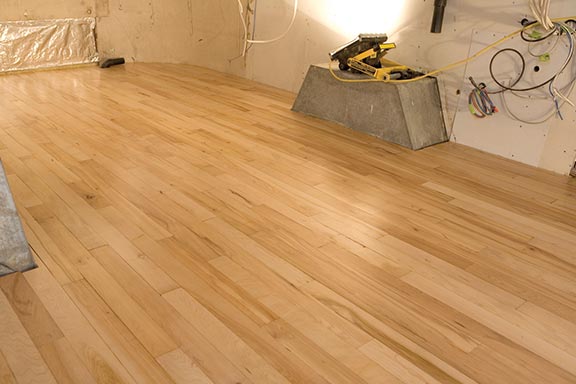 It took some sanding and extra work and love, but it’s gorgeous! Glued and nailed to the subfloor, it will provide a sound base for the interior walls, cabinetry, appliances, and furniture.
-
 Now, back to the walls. After riveting the original aluminum wall panels back into place, something very girly went up next ...
-
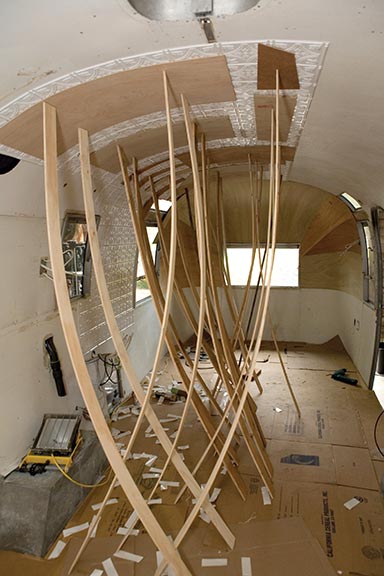 I added pizzazz to the walls and ceiling with Decorative Thermoplastic Backsplash Panels from ACPIdeas.com (about $800). To hold them in place while the glue dried and to apply pressure to the glue tape that adheres the panels, a bit of bracing was in order. We used strips of scrap plywood cut slightly longer than the height of the ceiling, then “sprung” it into place using the stiffness and flexibility of the wood to make a firm brace.
-
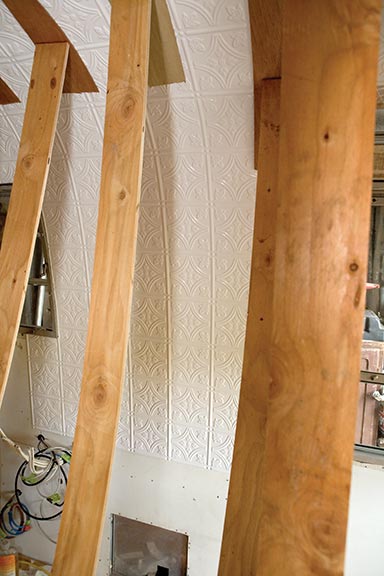 Slowly, but surely.